
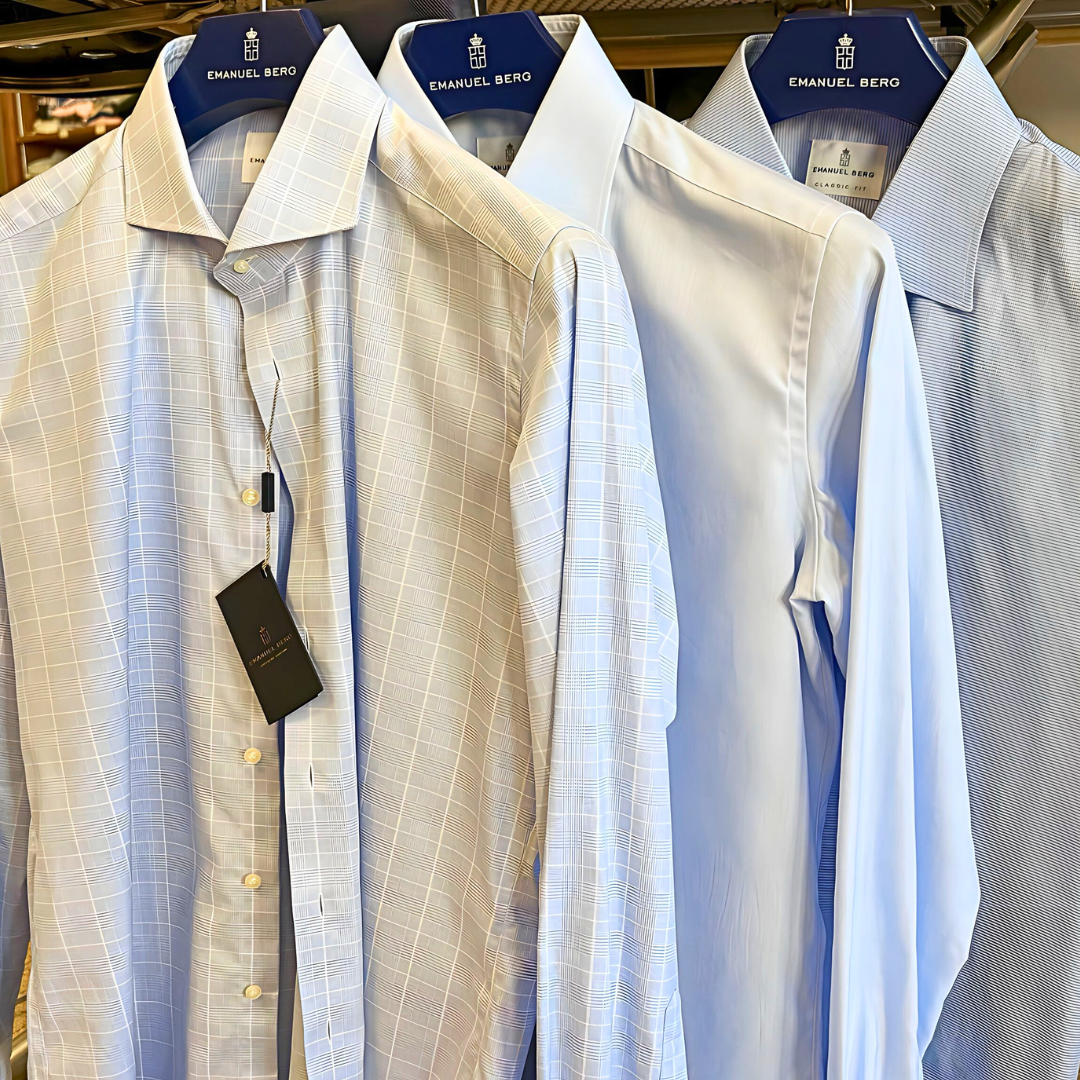
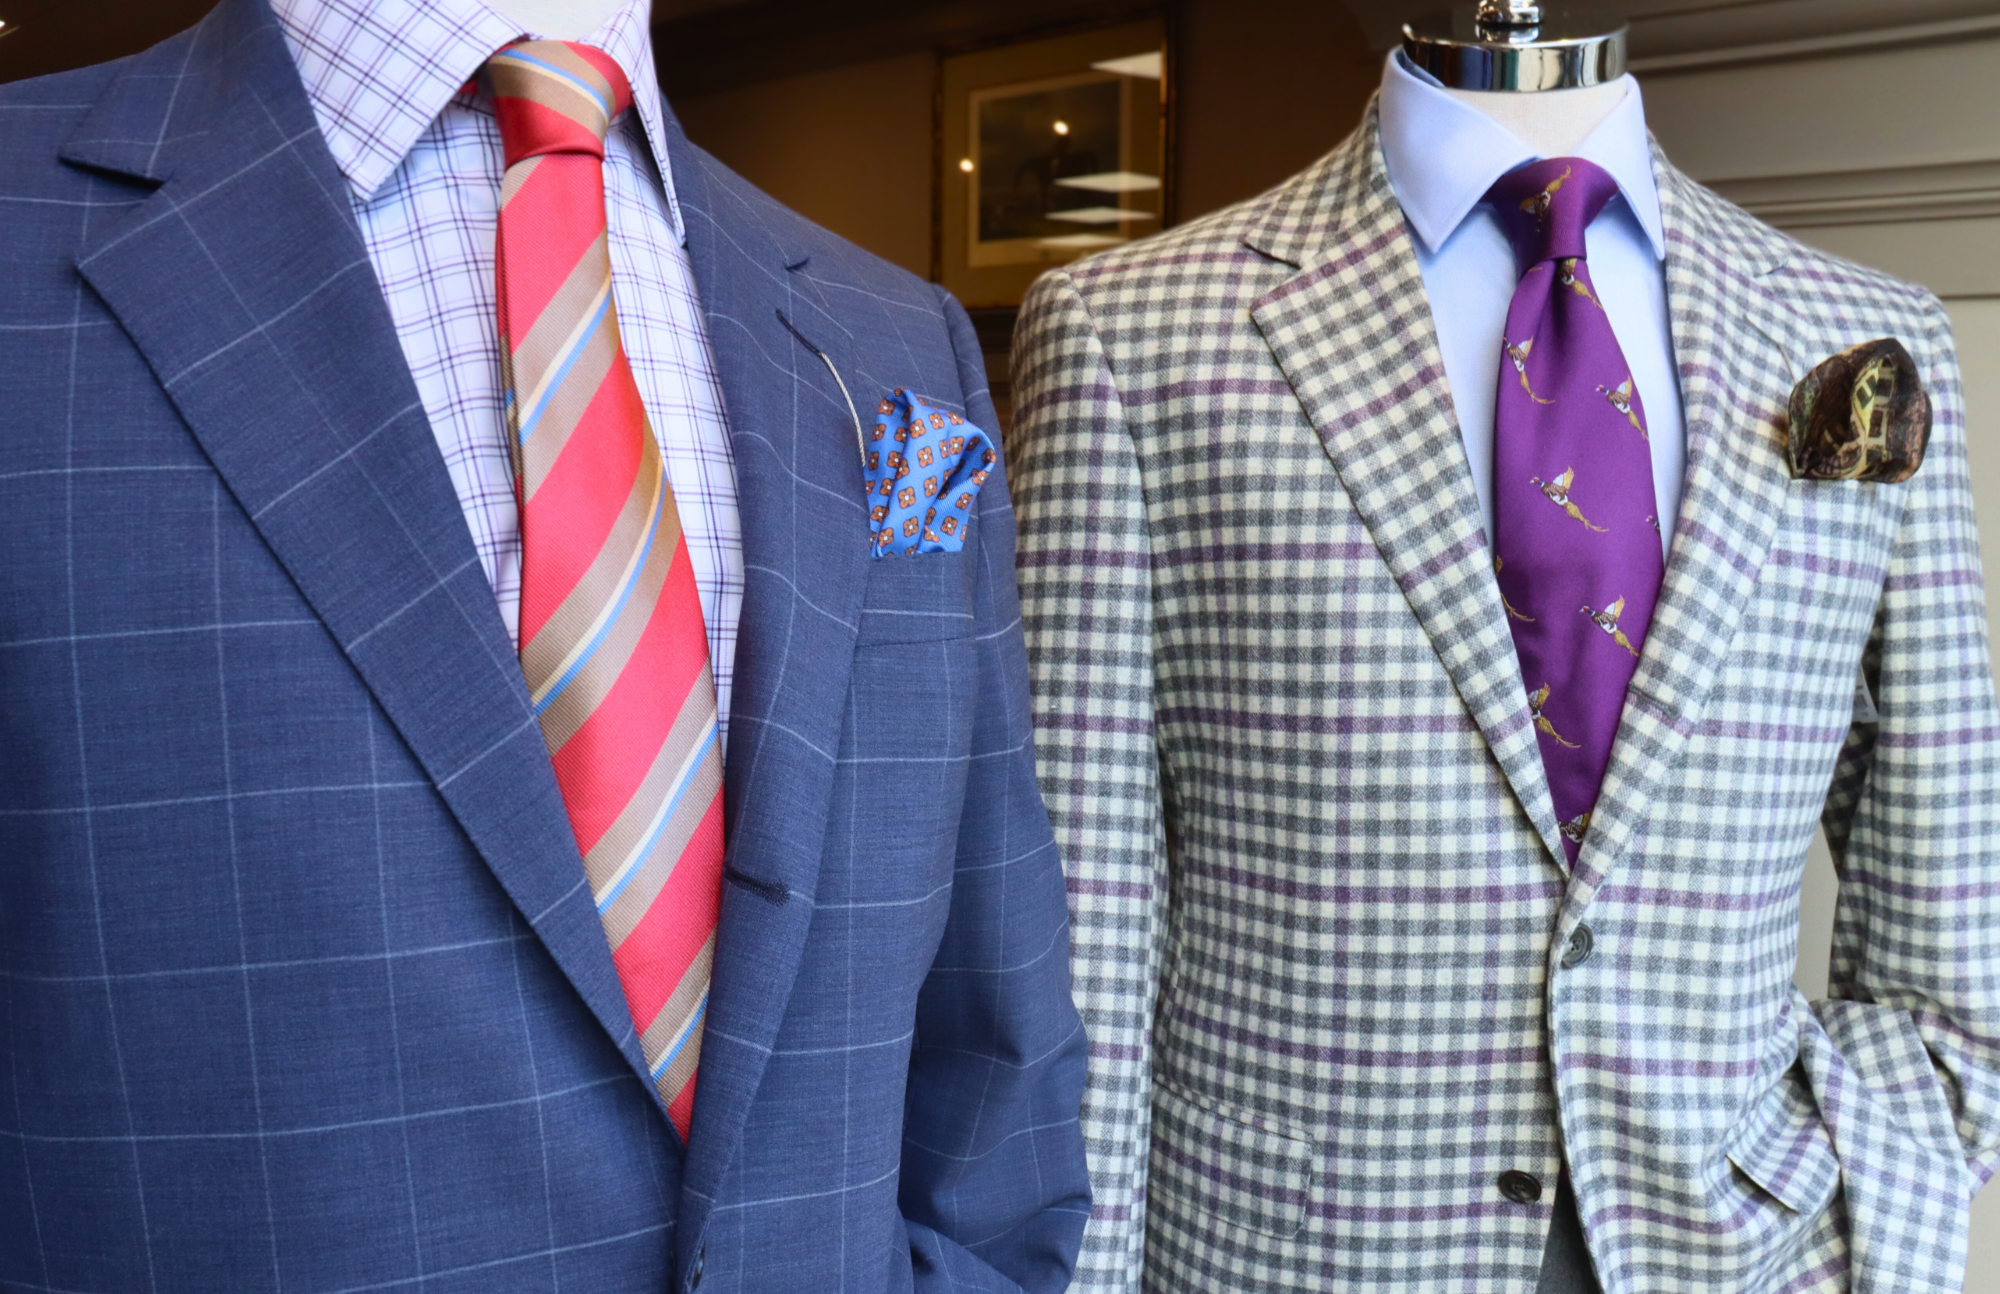
Owning a quality dress shirt relies on more than just purchasing quality materials. It also requires proper shirt care.
When you properly iron your dress shirts, you improve their appearance and your professional look. In addition, you also increase the shirt’s longevity by reducing fabric-weakening creases while sealing the fabric and protecting your lining.
Learn how to iron a men’s dress shirt to receive all the benefits without hurting the fabric.

The Best Tools for Ironing a Men’s Dress Shirt
Every men’s dress shirt is uniquely made with its own fabric types, cut, and style, whether it’s a casual work shirt or sharp wedding attire. Learning how to iron a dress shirt begins with choosing the right tools that accommodate variations in dress shirts.
Here are five of the best tools to keep on hand for ironing a dress shirt:
- Iron: Select an iron that offers different adjustable settings depending on your shirt’s fabric type. Your iron’s soleplate (or the bottom that runs against your shirts) is the most important, as it should allow for even, controlled heat. Opt for irons that also steam shirts for the most efficient iron.
- Ironing Board: Find a sturdy, flat, clean surface where you can iron your shirts.
- Clean Water: Hard water can hurt your iron after repeated use. It can also begin wearing down your fabric or leaving unwanted marks. Most regular tap water works well.
- Spray Bottle: A spray bottle can either support your iron’s steam function or replace it if your iron doesn’t have a steam function. Choose a well-cleaned bottle without any chemical residue in it. Choose a bottle that releases a gentle, even spray.
- Cloth: Have extra clothes and towels handy whenever you iron. You can use towels inside shirts when the ironing board doesn’t fit (like in the sleeves) or to soak up extra water. You can also use it between the iron and fabric if you need an extra layer of protection for delicate fabrics.
Preparing to Iron Your Shirt
Before jumping into ironing, prepare your space using these tips.
Read the Care Label
You can see exactly what the shirt needs to remain in optimal condition on your shirt’s tag. Delicate fabrics, like what your summer attire may use, will require lower heat.
The care label lets you know the safest heat and any extra care instructions to prevent damage. If the instructions are unclear, begin on the lowest temperature and slowly raise it.
If you have the iron on the lower settings, you will need to use a spray bottle over the steam function, as the iron is not hot enough to produce steam without also causing water droplets on the shirt.
Set Up an Ironing Station
You’ll need a place with plenty of room and lighting. The space should be free of objects that might keep you from laying out your shirt flat.
Good lighting allows you to see the shirt, where there might be extra wrinkles, and the steam or water distribution.
Keep your water spray bottle and extra towels in arm’s reach. Also, have a safe place to set your iron down away from your shirt if you need to walk away for a minute.
Have a place nearby to hang your shirts once you finish ironing them to preserve their appearance.
Prepare Your Shirt
Before ironing your shirt, clean it. If you iron a dirty shirt, you might permanently set those stains.
It should still be slightly damp when you iron it. If the shirt dried between laundry and ironing, use your spray bottle to dampen it so the fabric is relaxed and more manageable to iron out the wrinkles.
4 Steps for Ironing a Men’s Dress Shirt
Follow these four ironing steps to keep your shirts pressed and pristine.
Important Tip: During all these steps, your shirt should remain slightly damp. Use your steam function or spray bottle frequently. Also, avoid ironing over any bumps, especially from buttons, as this can cause permanent indentations.
Step 1: Collar and Cuffs
When you iron a collared shirt, unbutton the cuffs and place them flat on the ironing board, pressing out any wrinkles. Start with ironing the bottom side of the collar, then the top. Iron from the middle out toward the corners and edges to keep it looking crisp.
Step 2: Sleeves
Move onto the sleeves. Begin by smoothing out the wrinkles by hand. Then iron from the shoulder to the cuff. Iron the other sleeve the same way.
If the shirt has pleats on the sleeves, press them carefully to maintain its original structure.
Step 3: Yoke
The yoke is the fabric across the shoulders and upper back of the shirt.
Lay this section flat on the ironing board, smoothing out any wrinkles. Iron from the center toward the shoulders, while preserving any darts or pleats.
Step 4: Front and Back
Now it’s time to iron the front and back.
Start with one side, ironing from the shoulder down to the hem. Please pay attention to button plackets and seams, ensuring they lie flat.
Repeat the process for the other side. For the back, iron from the top yoke down to the hem.
Master Ironing Mens’ Dress Shirts
Continue practicing how to iron a dress shirt, and you’ll soon see your shirts looking crisper and lasting longer.
Are you looking for a quality dress shirt to add to your collection?
Rush Wilson Limited provides high-end men’s and ladies fashions to keep you looking sharp for all occasions.
Visit our Greenville shop for the best style for your shape and needs.

